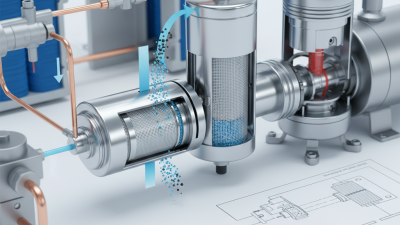
In 2026, choosing a Recovery Filter Drier means matching the component to the recovery equipment and the refrigerant service conditions. Its job is practical: capture moisture, acids, and particles before they can circulate through recovery equipment. A unit that looks suitable on the bench may still restrict flow or lack the needed capacity. Small component. Big consequences.
Start with the equipment manufacturer’s specifications. Check refrigerant compatibility, connection size, pressure rating, rated flow, and moisture and acid capacity. Then consider the system’s condition. A clean, recently serviced system places different demands on a drier than one with burnt oil, visible debris, or a history of moisture exposure. Those clues matter. They are not a substitute for inspection or manufacturer guidance.
In real service work, access and replacement planning count, too. A difficult-to-reach connection can turn a routine filter change into a frustrating job. Compare product data sheets, confirm that the selected model is approved for the intended recovery setup, and follow its stated replacement criteria. Avoid choosing by size or price alone. Bigger is not automatically better; excessive restriction can slow recovery, while undersizing may reduce contaminant capacity. Product specifications can also leave questions unanswered, so verify uncertain details with the manufacturer. The right Recovery Filter Drier supports reliable equipment operation, but it cannot correct a contaminated system or poor service practices. That distinction is easy to overlook.
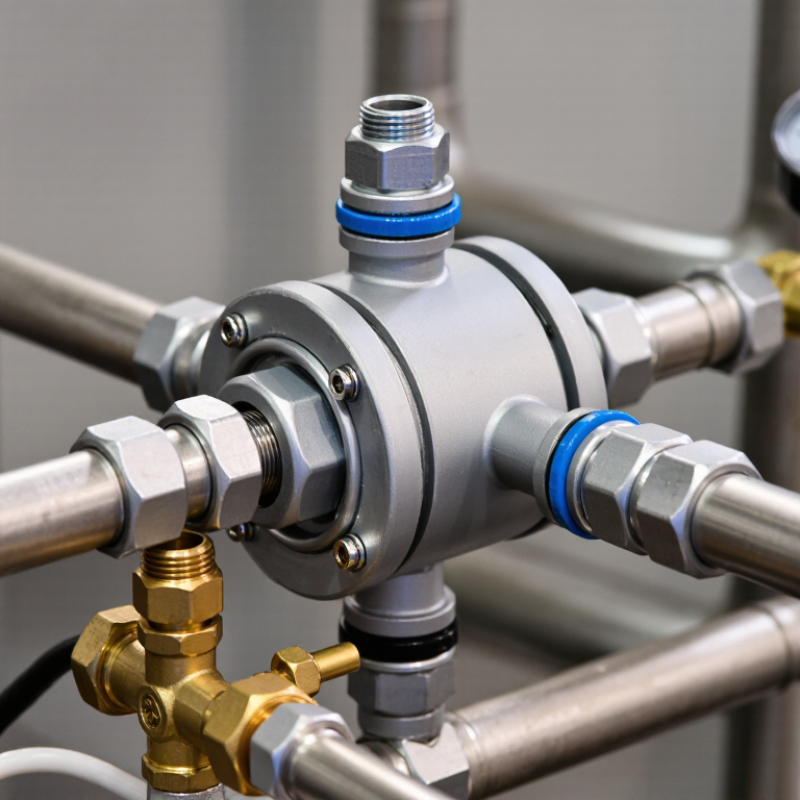
A recovery filter drier sits in the refrigerant recovery line and helps protect recovery equipment from moisture, acids, and loose particles. A used system can contain copper flakes, oil residue, or debris from a failed component. The filter captures contaminants before they reach sensitive valves and internal passages.
Small particles matter.
Moisture is a particular concern. It can react with refrigerant and oil, while a loaded or restricted filter may slow recovery and increase pressure drop. In practice, check the filter’s flow direction, pressure rating, connection size, and compatibility with the refrigerant being handled. A filter that fits the hose is not automatically the right filter. Follow its manufacturer’s instructions, and replace it when contaminated or when performance indicates restriction.
A recovery filter drier has limits. It cannot repair a damaged system, remove every contaminant, or make mixed refrigerants suitable for reuse. Choosing one also means considering the expected contaminant load and the recovery equipment’s flow requirements. This is easy to overlook when a job is rushed. I would also inspect the hoses and fittings; a clean filter cannot compensate for debris already entering downstream. Even a routine recovery deserves that extra check.
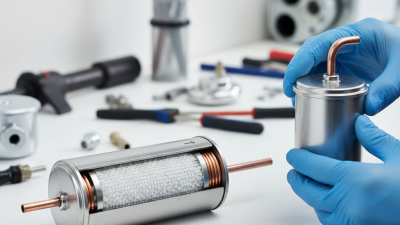
Start by confirming the refrigerant from the equipment label and service records. Do not rely on hose color or memory. Blends, oils, and contaminants can affect filter media compatibility. Check the drier’s stated refrigerant and lubricant compatibility before connecting it. If the system’s contents are uncertain, pause and identify them rather than guessing.
Match the filter to the system and recovery equipment. A compact sealed system and a large commercial unit can produce very different flow rates and debris loads. Check the drier’s capacity, connection size, and pressure rating against the recovery machine’s instructions. I used to focus on connection size; it was not enough. A filter that restricts flow may slow recovery or strain equipment.
Recovery conditions matter, too. A wet system, burnt compressor, or damaged line set may send more moisture, acid, and particles toward the filter. That matters. Choose a drier rated for the expected contaminant load, and monitor pressure changes during recovery. A rising pressure drop can signal restriction. Not always. Inspect the filter and follow the equipment maker’s replacement guidance, especially when recovering from a heavily contaminated system.
A recovery filter drier must handle both the refrigerant flow and the contamination load. Compare filtration capacity using the maker’s stated particle size and dirt-holding capacity; a larger shell does not automatically mean finer filtration. For moisture removal, check water-capacity ratings under the same refrigerant and test conditions. AHRI Standard 710 provides a standardized rating method for liquid-line filter-driers, helping buyers compare tested capacity rather than relying on appearance. It is a useful reference, though recovery service can differ from ordinary liquid-line operation.
Pressure ratings deserve equal attention. Check the filter drier’s maximum working pressure against the recovery unit’s operating limits, including likely temperature changes; do not treat a burst-pressure figure as a working rating. ASHRAE’s Refrigeration Handbook discusses moisture and contaminants as contributors to corrosion and system problems, so a saturated drier should not be treated as a permanent fix. In practice, record the refrigerant type, estimated charge, and service history before choosing. One detail is easy to miss: published capacity figures may not predict performance with unknown debris or mixed contaminants. Compare datasheets carefully, and leave a margin when the contamination load is uncertain.
A recovery filter drier must match the recovery unit’s connections, not just look like it will fit. Check the inlet and outlet size, thread type, and any required adapter in the equipment manual. A mismatch can leak or restrict flow. A snug hand fit is not proof of compatibility.
Then confirm the filter’s stated refrigerant compatibility, working pressure, and flow capacity. The refrigerant and recovery setup both matter. Also check the flow arrow; installing the drier backward may reduce its effectiveness. It is easy to focus on connection size and miss these details. That happens.
Replacement needs depend on use and condition. Follow the recovery equipment maker’s guidance, and replace a drier if it is damaged, contaminated, or causing an unusual pressure drop. After recovering refrigerant from a system with a compressor burnout, extra contamination may be present, so a fresh filter may be appropriate. Do not guess from appearance alone. Keep a note of the filter change and the pressure readings; the log may reveal a gradual restriction that one quick check misses. If the fitting, rating, or refrigerant compatibility is unclear, pause and verify it before connecting the recovery setup.
| Selection dimension | What to check | Practical guidance | Replacement or verification need |
|---|---|---|---|
| Connection size and type | Match both ends to the recovery unit, hoses, and any required fittings. Check thread type as well as nominal size. | Common recovery-hose connections include 1/4-inch SAE flare; some equipment and hoses use other sizes or connection types. Do not assume that matching diameter means matching threads. | Confirm the port markings or equipment documentation before ordering. Use only suitable, pressure-rated adapters when needed. |
| Refrigerant compatibility | Verify that the filter drier is approved for the refrigerant being recovered and the intended service conditions. | Compatibility is product-specific. Check the filter’s documentation rather than relying on appearance or connection size alone, especially when handling newer or higher-pressure refrigerants. | Do not use a filter with an unverified refrigerant. Follow applicable recovery procedures and equipment instructions. |
| Pressure and temperature ratings | Check the rated working pressure and temperature range against the recovery system and refrigerant requirements. | Ratings must be suitable for the complete recovery setup. A fitting that connects correctly is not proof that the assembly is pressure-rated for the application. | Inspect the housing and connections for damage, corrosion, or leakage. Remove damaged or unrated components from service. |
| Flow direction and placement | Look for an arrow or other flow-direction marking and confirm the intended position in the recovery line. | Install the filter in the direction and location specified by its instructions and the recovery-equipment manufacturer. | Recheck direction whenever the setup is changed. Do not rely on a visual guess if the product is marked. |
| Capacity and flow requirements | Compare the filter’s stated application and flow capacity with the recovery equipment and job requirements. | A filter that is unsuitable or restricted can slow recovery. Use the specified filter type and avoid unnecessary size reductions or restrictive adapters. | If recovery becomes unusually slow, check the filter along with hoses, valves, and other possible restrictions. |
| Moisture, acids, and contamination | Consider whether the system has experienced a burnout, moisture intrusion, compressor failure, or other contamination event. | Choose a filter drier intended for recovery-line use and the expected contamination conditions. A recovery filter does not replace proper system cleanup or service procedures. | Replace a contaminated filter as directed by its manufacturer and the recovery-equipment instructions; do not continue using a filter known to be saturated or contaminated. |
| Condition and restriction | Check for visible damage, leakage, abnormal temperature differences, or a decline in recovery performance. | Use the equipment maker’s troubleshooting procedure to determine whether the filter is restricted; other parts of the recovery setup can cause similar symptoms. | Replace the filter if it is damaged, leaking, contaminated, or confirmed to be restricted. Follow safe depressurization and refrigerant-handling procedures. |
| Replacement schedule and records | Check the filter instructions, recovery-unit manual, service history, and the type of work performed. | There is no single replacement interval that applies to every filter and job. Follow the specified schedule and job-specific replacement guidance. | Record installation and replacement dates, refrigerant or job type, and any observed restriction or contamination to support consistent maintenance. |
Always verify connection details, compatibility, ratings, and replacement instructions against the specific filter and recovery equipment documentation.
Choose a recovery filter drier for the refrigerant, expected flow, and recovery equipment—not just the pipe size. Check its pressure rating, connection type, refrigerant compatibility, and stated moisture capacity. AHRI Standard 700-2023 specifies a 10 ppm water limit for reclaimed R-410A; its tables set refrigerant-specific purity limits. Use the relevant entry as a reference, not as proof that a filter alone can make contaminated refrigerant reclaimable.
Install the drier in the recovery path shown by the equipment manufacturer, with its flow arrow pointing toward the recovery machine. Use clean, dry hoses and suitable eye protection. Keep the setup ventilated, and check every connection for leaks before recovery. Do not reuse a saturated drier. It may look fine outside.
Afterward, inspect for unusual pressure drop, confirm the drier stayed within its rated conditions, and check outlet moisture if the assembly includes an indicator. Record the refrigerant type and filter change. A pressure reading alone cannot confirm refrigerant purity; laboratory testing may be needed when purity must be demonstrated. One detail is easy to overlook: a larger drier is not automatically safer if it restricts flow or is incompatible with the refrigerant. Follow the recovery unit manual, even when the setup seems familiar.