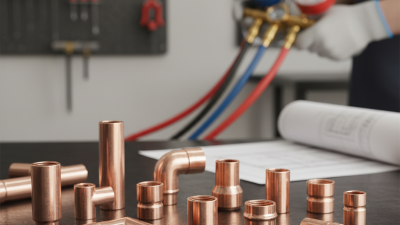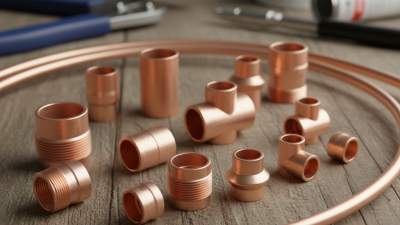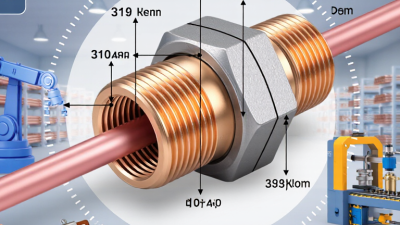
Choosing Refrigeration Copper Fittings is not just a matter of matching diameters. A fitting must suit the refrigerant, operating pressure, temperature range, and connection method. A neat-looking joint can still fail if its components are incompatible.
Refrigeration educator and author Dick Wirz’s practical guidance can be paraphrased this way: choose components for the system and installation conditions, not appearance alone. This is a paraphrase, not a verbatim quotation. Use the equipment manufacturer’s specifications to confirm fitting type, dimensions, and pressure ratings. Check that the copper and fitting are intended for refrigeration service. Then consider access for brazing, joint preparation, and leak testing. Small details matter.
Look closely at the tubing end. Is it clean, round, and free from dents? Does the fitting seat correctly without force? These checks are simple, but easy to rush. The right choice also depends on where the joint sits; a tight corner can make proper heating difficult. Installation quality matters as much as product selection. Even a suitable fitting can become a weak point when preparation or brazing is poor.
This guide explains how to compare fitting styles, verify compatibility, and assess installation needs before buying. It also points out common selection mistakes and the questions worth asking suppliers. Product descriptions can sound reassuring. Still, verify the details. A careful check now can prevent leaks, rework, and avoidable service calls later.
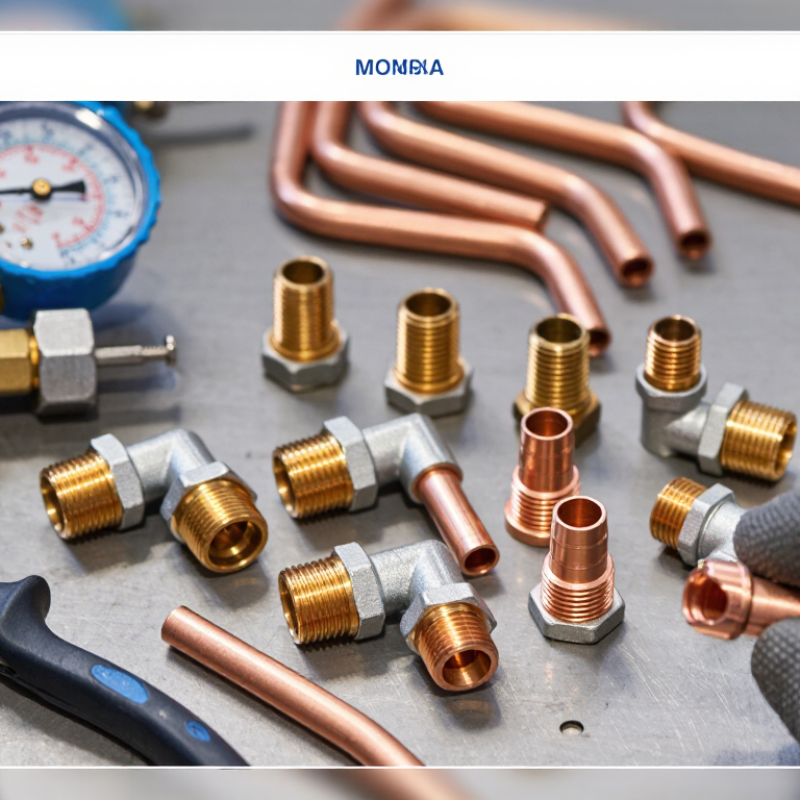
Before choosing a refrigeration copper fitting, define the system it must serve. Record the refrigerant, design pressures, operating temperatures, and tube outside diameter. Check the equipment documentation rather than guessing from an old fitting. Refrigeration service pressures can vary widely, and a connection suitable for one application may be wrong for another. Small details matter.
Review the connection method and materials. A fitting may be designed for brazing, flaring, or another specified joint; these methods are not interchangeable. Confirm that the fitting is intended for refrigeration service and is compatible with the tubing and system conditions. Check applicable product specifications and installation instructions, including any limits on pressure or temperature. Measure twice. A close-looking diameter is not a reliable match.
Consider the physical layout, too. A tight bend near a compressor can transfer vibration to a joint, while a poorly supported line may strain it over time. Allow room for tools and for the joint to be made correctly. It is tempting to choose by size alone, but that shortcut misses important requirements. I would also recheck the design data before ordering; paperwork can be incomplete, and assumptions are easy to make when a repair feels routine.
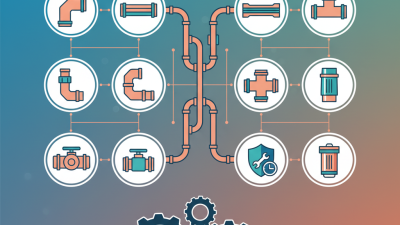
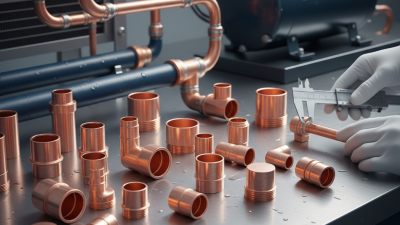
Start with the connection, not the catalog photo. A straight coupling, elbow, tee, reducer, or flare fitting serves a different routing need. Match the fitting to the copper tube’s actual outside diameter; refrigeration tube sizes are not interchangeable with nominal plumbing sizes. Measure a clean, round tube end with calipers. Then check the fitting’s stated tube size, wall compatibility, and connection method. A close-looking mismatch can leave a poor braze joint or a leak path.
Check operating pressure, refrigerant, oil return, and the manufacturer’s piping guidance before choosing dimensions. ASHRAE’s Handbook—Refrigeration covers refrigerant piping design, including pressure drop and refrigerant velocity, which affect line sizing beyond simple physical fit. The International Energy Agency’s 2018 Future of Cooling report projected that global space-cooling energy demand could more than triple by 2050; reliable connections matter as cooling systems expand.
Fit matters.
For a reducer or branch, verify each port separately, and confirm the fitting is rated for the system’s operating conditions. I still recheck measurements after cutting; burrs and oval ends can mislead. A little tedious, but useful.
When choosing refrigeration copper fittings, check the copper grade rather than relying on appearance. Clean, bright copper can still be unsuitable for a particular service. Look for grade and specification details on product documents, and confirm they match the tubing and joining method. Phosphorus-deoxidized copper, such as C12200, is commonly used in copper tube applications, but that alone does not prove a fitting is right for every system. Small details matter. Inspect for dents, oval ends, scale, or contamination before installation; even a tiny defect can complicate a sound joint.
Next, compare the fitting’s rated operating pressure and temperature with the system’s design conditions and refrigerant requirements. Do not use the normal running pressure as the only reference: startup, shutdown, and changing ambient temperatures can create different loads. The fitting, tube, and completed joint all need compatible ratings. The weakest component sets the practical limit. Check the supplier’s technical data, and verify that the selected fitting is approved for the intended refrigerant and connection process. A fitting may look robust yet have a lower pressure rating than the tube. That mismatch is easy to miss. After installation, follow the equipment maker’s pressure-testing procedure and applicable technical requirements; a careful visual check cannot reveal every leak.
Choosing a refrigeration fitting starts with the joint, not its appearance. ASTM B280 specifies seamless copper tube for refrigeration service, while ASME B16.22 covers solder-joint pressure fittings and ASME B16.50 covers braze-joint fittings. Check that the tube and fitting standards match the equipment specification; matching nominal sizes alone is not enough. ASHRAE Standard 15 addresses refrigeration-system safety, but it does not replace the component manufacturer’s pressure and installation requirements.
Brazing creates a permanent joint suited to many field-installed refrigerant lines. It needs clean, closely fitted surfaces, controlled heating, and dry nitrogen flowing through the tube to limit internal scale. Copper conducts heat quickly: the Copper Development Association’s Copper Tube Handbook lists conductivity at about 226 Btu/(h·ft·°F) near room temperature. Heat can travel farther than expected. Protect nearby valves and insulation, and verify the completed joint using the specified leak-test procedure.
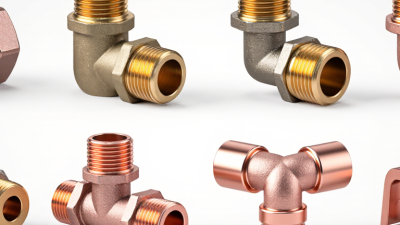
Flare connections avoid torch heat and allow later disassembly, making them useful where the equipment design calls for serviceable joints. Their sealing faces must stay clean and undamaged; overtightening can distort the flare. I still double-check flare dimensions against the equipment instructions, because a fitting that feels snug may not seal. Use the connection type, pressure rating, materials, and applicable local requirements together—not one standard in isolation.
Compare connection methods and the scope of selected ASME fitting standards.
The bars count selected ASME fitting standards—not connection performance: solder-joint fittings are covered by ASME B16.18 and B16.22; braze-joint fittings by ASME B16.50; and flared-tube fittings by ASME B16.26. ASTM B280 covers copper tube for air-conditioning and refrigeration field service, rather than fitting connection types. Confirm current editions, system requirements, and local codes before selecting components.
A refrigeration copper fitting should match the tube size, connection type, and system pressure and temperature requirements. Check the product documentation rather than relying on appearance alone. Look for clean, smooth ends and consistent dimensions. Reject fittings with dents, cracks, heavy oxidation, or visibly uneven openings. Even a small burr can restrict flow or interfere with a sound joint. Small details matter. Keep fittings capped and dry until use; moisture and debris can create problems inside a refrigeration circuit.
Installation conditions matter just as much as fitting quality. Cut tubing squarely, remove internal and external burrs, and clean joint surfaces without leaving grit behind. During brazing, use suitable heat control and follow the equipment manufacturer’s procedure, including any specified inert-gas purge. Excessive heat can damage nearby components, while poor alignment can leave strain on the joint. Support the tubing so vibration does not work against the connection. Before commissioning, perform the specified pressure and leak checks with appropriate equipment. A fitting can look perfect and still leak. It is easy to rush preparation when the parts seem simple, but that is often where careful work pays off.
| Selection or Inspection Point | What to Verify | Good Practice | Why It Matters |
|---|---|---|---|
| Fitting type and connection | Match the fitting to the tube size, connection method, system design, and equipment connection. | Choose the specified joint type, such as brazed, flare, or threaded, and confirm that mating parts are compatible. | A mismatch can lead to poor sealing, difficult assembly, or joint failure. |
| Material and application suitability | Check that the fitting material and construction are suitable for the refrigerant, lubricant, operating temperatures, and intended service. | Use components approved for the system by the equipment or fitting manufacturer and applicable local requirements. | Refrigeration systems operate under pressure, and material compatibility is essential to reliable service. |
| Pressure and temperature rating | Verify the fitting’s rated working pressure and temperature against the system’s design conditions. | Consider the highest applicable operating and test conditions; do not assume that fittings of the same size have the same rating. | A fitting must be suitable for the system’s specified pressure and temperature range. |
| Visible quality | Inspect for cracks, dents, deep scratches, corrosion, contamination, distorted ends, and damaged threads or flare seats. | Keep openings capped until assembly and reject parts with damage that could affect the sealing surface or flow path. | Damage or debris can compromise the joint, restrict flow, or contaminate the refrigeration circuit. |
| Tube preparation | Check that the copper tube is cut square, properly deburred, and free of chips and dirt. | Use suitable tube-cutting and preparation tools. Keep cuttings out of the tube and fitting. | Clean, properly prepared tube ends help create sound joints and reduce the risk of internal contamination. |
| Flare connections | Confirm that the flare angle and dimensions match the connection and that the flare face is smooth and undamaged. | Use the specified flare procedure and tightening torque. Avoid overtightening, which can damage the flare or seat. | A correctly formed, aligned flare is necessary for a reliable metal-to-metal seal. |
| Brazed connections | Confirm the joint has suitable clearance and that the filler metal is appropriate for the base materials and application. | Follow the filler-metal instructions. Use flux where required for the materials being joined, and protect nearby components from heat. | Correct material selection and controlled heating help produce a sound joint without damaging the system. |
| Inert-gas purging during brazing | Check whether the system procedure requires an inert-gas purge while brazing copper tubing. | Where specified, use a low flow of dry nitrogen through the tubing during brazing; follow the approved procedure. | Purging helps limit internal copper oxide scale that could otherwise circulate through the system. |
| Installation alignment and support | Check that tubing meets the fitting without force and that the assembly is not under excessive strain. | Support tubing appropriately and allow for vibration and thermal movement in accordance with system requirements. | Stress and vibration can contribute to fatigue, leaks, or damage to connected components. |
| Pressure and leak testing | Confirm the completed circuit is tested using the specified procedure and allowable test pressure. | Use dry nitrogen or another approved test gas as required by the procedure. Never use oxygen or compressed air to pressure-test a refrigeration system. | Proper testing helps identify leaks while avoiding serious hazards and unnecessary system contamination. |
| Evacuation and commissioning | Verify that the system is evacuated and commissioned according to the equipment instructions and applicable procedures. | Use appropriate refrigeration service equipment and confirm the required evacuation and charging steps before operation. | Moisture and non-condensable gases can impair system performance and reliability. |